Review Context
The Review Context provides information regarding the nature, content and scope of the review. This information is preloaded by HLC.
Team members also enter information in this section regarding the institutional context, as well as interactions with constituencies and additional documents reviewed during the site visit, if applicable.
Institutional Context, Interactions and Additional Documents
Any team member may edit the fields on the Review Context page. To add text:
- Click the Edit button under Context and Nature of the Review. That will make the Institutional Context, Interactions With Constituencies and Additional Documents fields editable.
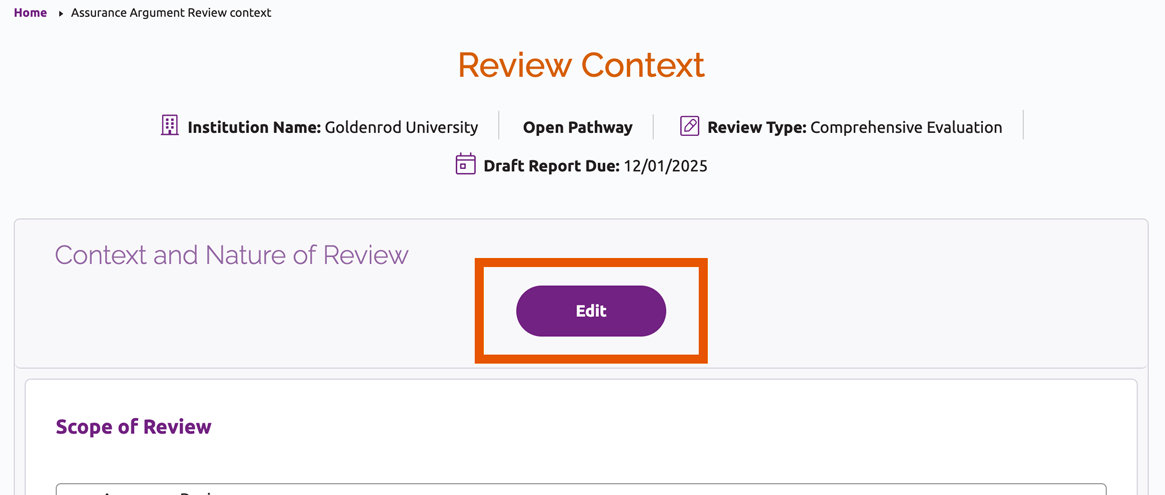
- Scroll down to the field you wish to edit. Type directly in the text box or copy and paste information from an external document. See Text Formatting below for additional details on entering and formatting text.

- After the text has been added, scroll back up to the top of the page and click “Save.” To discard your changes, click “Cancel.”
Text Formatting
Canopy allows for a number of simple formatting options for the rationales and interim monitoring recommendations. These options are located in a toolbar at the top of each text box.

Reviewers can hover over the icons to see a short description of each tool. Most are similar to what a user would find in word processing software, including basic text styles, paragraph alignment and find/replace.
The system also offers the following unique options:

Paste as Plain Text
This will remove any formatting from material that is pasted into the text box. This is useful when copying text with complex formatting.
- After copying text from its original source, place the cursor where the text should be pasted.
- Click the Paste as Plain Text button.

Paste From Word
Use this option when copying and pasting text from a Microsoft Word document.
- After copying text from its original source, place the cursor where the text should be pasted.
- Click the Paste from Word button.

Remove Formatting
This will clear the formatting of any selected text. This is a useful tool for removing formatting problems in text that has been copied and pasted from an external source.
- Select the text you wish to clear of formatting.
- Click the Remove Formatting button.

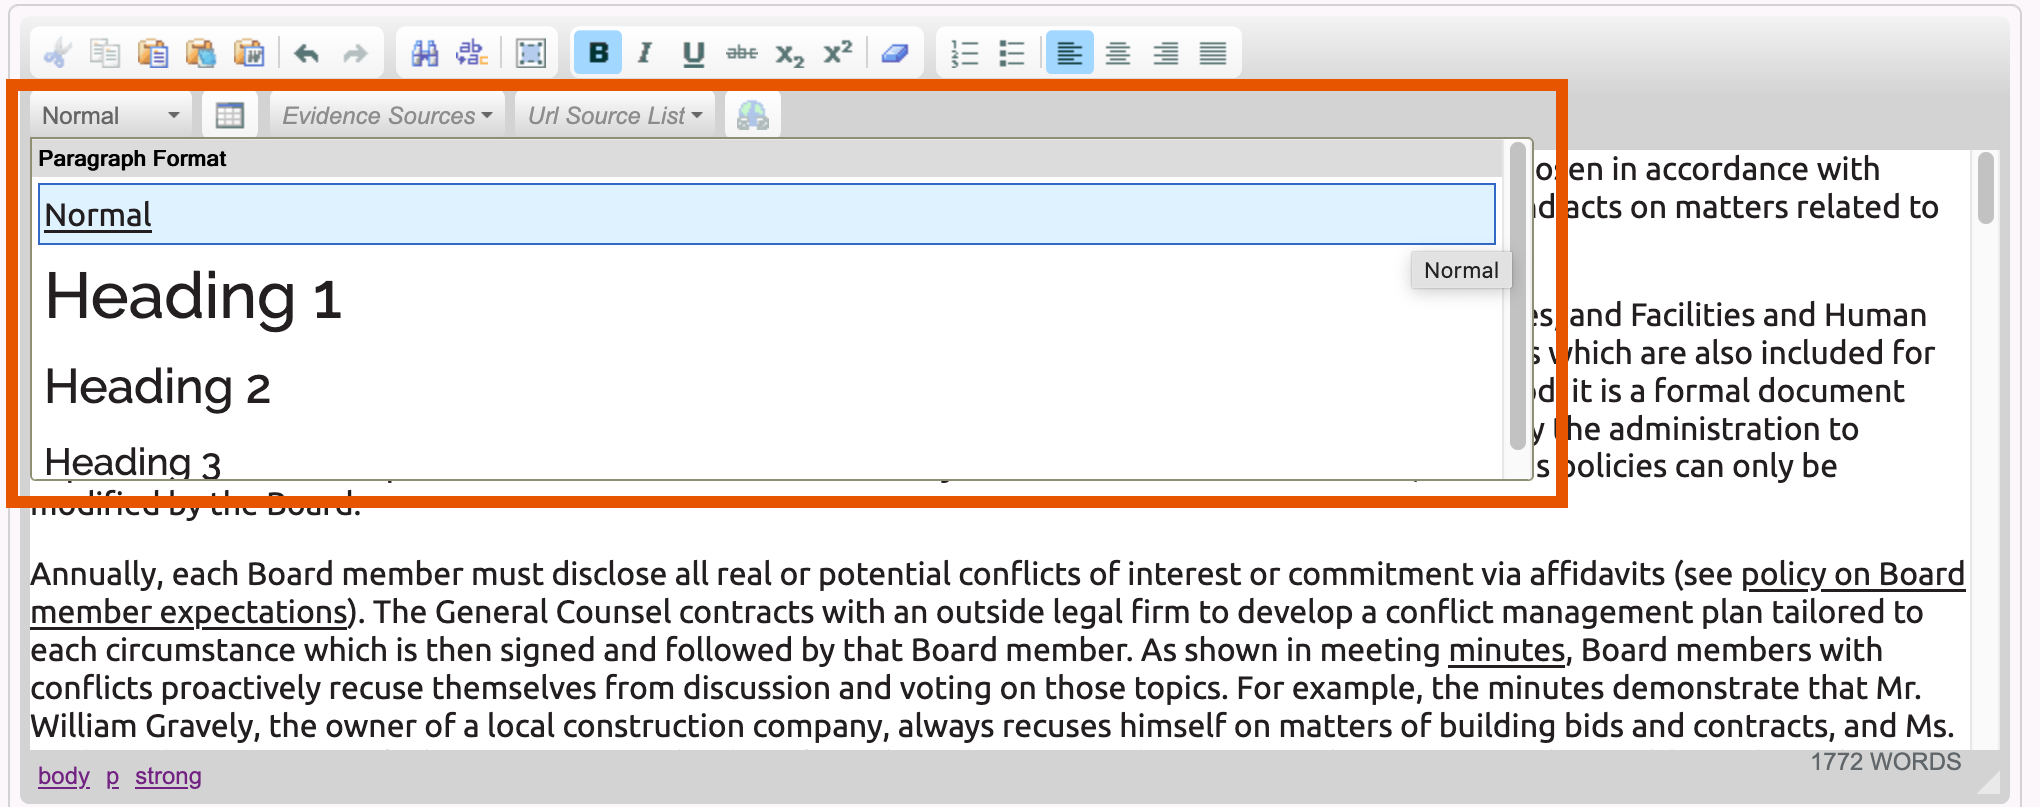
Format
The format field allows users to format text as “normal” paragraph text or one of three heading or subtitle styles. This is useful for applying consistent text formats throughout the Assurance Argument.
- Select the text you wish to style as a particular format.
- Click the Format field and select the desired text format from the drop-down menu.

Insert Table
- Place the cursor at the point where the table should be added.
- Click on the Table button.
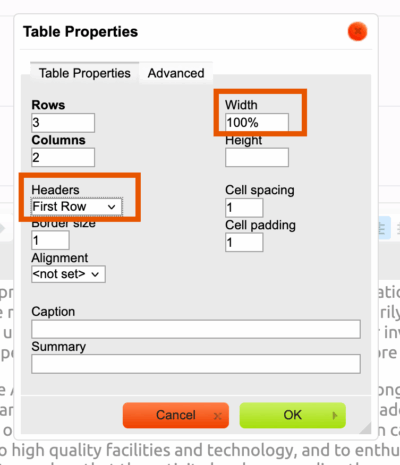
- Adjust the settings in the Table Properties window as needed and click “OK.”
- Note: HLC recommends changing the default table width and setting a header row and/or column for all tables.
- Set table width as a percentage. Change the width to a percentage value to ensure the table is displayed consistently on different screen sizes and in exports. For example, enter “100%” if you want the table to span the full text field, “50%” if you want the table to span half the text field, etc.
- Set header rows or columns. In the “Headers” field, indicate which row or column provides headers or labels for the data in the table: First Row, First Column, or Both. This will make the table more accessible for people who use screen readers.
- Note: HLC recommends changing the default table width and setting a header row and/or column for all tables.
- The blank table will be added to the Argument field. Enter text to the table cells as needed.
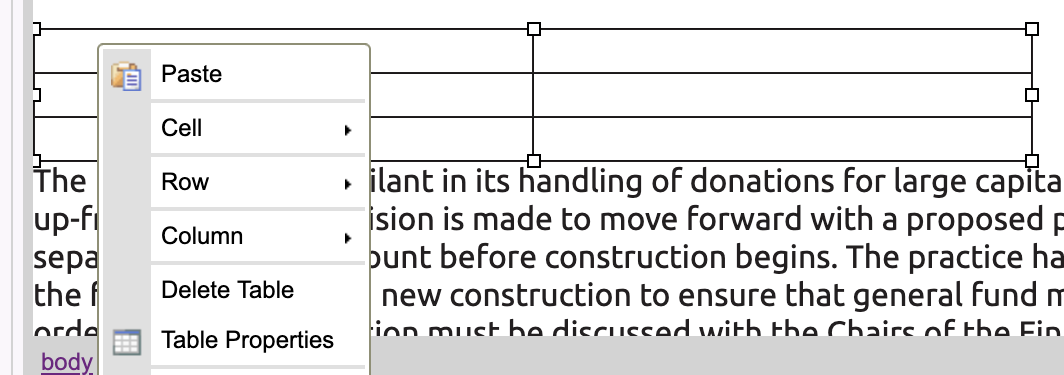
To edit the properties of an existing table, right-click anywhere in the table. That will open a menu where users can:
- Insert, delete, merge or split cells.
- Change the text alignment, background color or properties of an individual cell.
- Insert or delete rows or columns.
- Edit other table properties, including the width or alignment.
- Delete the table.
Assurance Review Instructions
User Guide Topics
All Users
Institutions
Peer Reviewers
Peer Corps Applicants

Related Resources

Questions?
Submit a Canopy Help Request